We are here to help
Admin > Master Data
Set-Up DocuSign New Account.
Modified on: Mon, 14 Apr , 2025 | 08:12 AM
The DocuSign set-up is divided into two parts:
- Creating
a DocuSign Developer Account. Must be done whether you have an existing
account or a new user.
- Linking Your DocuSign Account to FranchiseSoft.
Create a Docusign Developer Account
- Use
the following instructions to create a DocuSign Developer account and
obtain an Integrator Key, Account ID and Secret Key to link your account with FranchiseSoft.
- Create
DocuSign Developer (Sandbox) Account account here: https://developers.docusign.com
- Once created, login to your DocuSign Developer account here: https://account-d.docusign.com/#/username
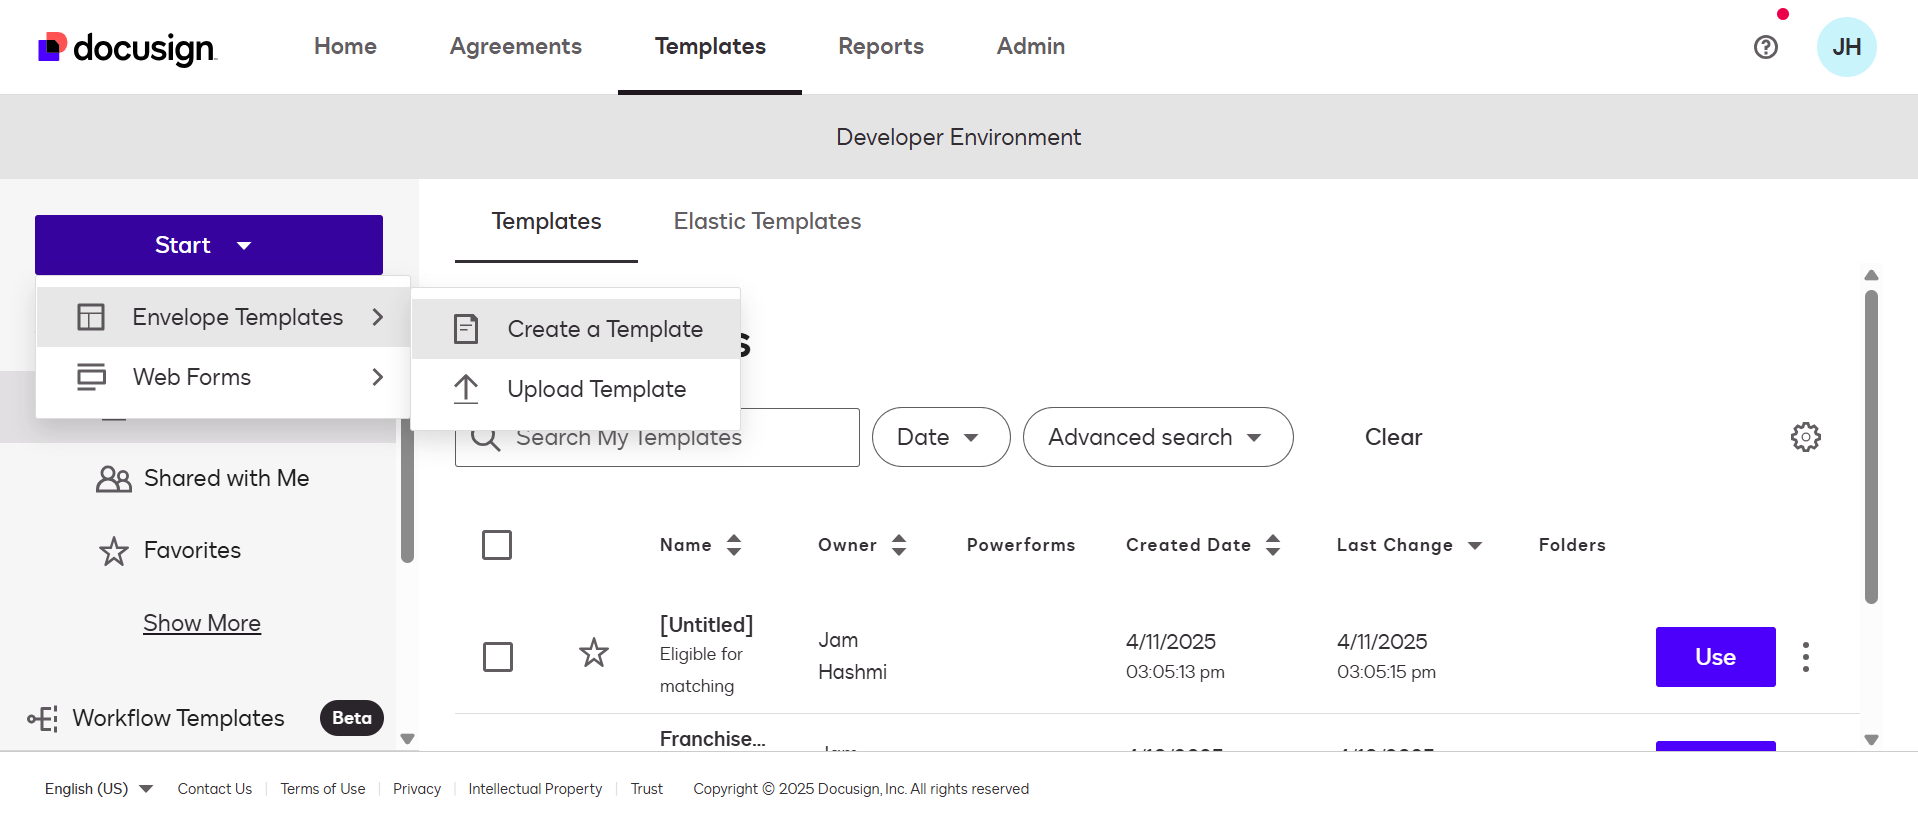
- Steps to Create a Template in DocuSign Developer Account
- Go to “Templates”
- On the top menu, click "Templates"
- Then click the “New Template” button from Start Button.
Enter Template Details
- Name: Enter a name for your template.
- Description (optional): Add a description to explain the purpose of the template.
- Click “Upload” to add the document(s) you want to use in the template (PDF, Word, etc.).
- Under “Add Recipients”, fill in:
- Role (e.g., "Client", "Manager")
- Name & Email are optional here—you’ll provide them when you use the template later.
- Choose “Needs to Sign”, “Receives a Copy”, or other actions as needed.
- Select Envelope Types
Add Fields to Document
- Click “Next” to open the document editor.
- Drag and drop fields like:
- Signature
- Date Signed
- Full Name
- Text fields
- Checkboxes, etc
Save the Template
To find your Integrator Key (Client ID) and Secret Key from DocuSign, follow these steps:
Step 1: Log in to DocuSign Developer Account
- Go to
DocuSign Developer Portal and log in.
- Click on Admin section form top navigation

Step 2: Navigate to Apps and Keys
- In the
left sidebar, go to Integrations ? Apps and Keys.
- Under My
Apps & Keys, you will see a list of existing apps or an option to
create a new one.
Step 3: Get the Integrator Key
- Add App and Integration Key
- Enter App Name and Click on Create App button. (Add a description for your application, this is typically something like “Brand X” or “Brand X FS Integration”.)
- Your Integrator Key will be displayed under the app details.
- Copy this Integrator Key It will use in FS
Step 4: Generate the Secret Key
- Scroll down to the Authentication section.
- Click Add a Secret Key.
- Copy the Secret Key immediately (it won’t be shown again after you leave the page).
- Click on ADD URI under Redirect URIs and add this https://app.franchisesoft.com/user/aouthDocusign link to the text box.
- Click on Save Button.
- Your integrator key is a string that appears in the Apps & Integration Keys section of API and Keys in DocuSign Settings.
Use the following instructions to link your Live DocuSign Account in FranchiseSoft:

- Go to Update Profile section from top right corner.
- Click on DocuSign from left navigation.
- Copy your Integrator Key and Account ID and Secret Key from your Developer Account and enter that information in FranchiseSoft:
- Click on Submit button.
- Click on Map / Sync Template button.
- Select template that you want to use for Franchisor, Franchisee or Both.
- Now click on Back to DocuSign link.
- Now click on the 20+ transactions button.
- After receiving 20+ transactions now go back to you DocuSign Demo account.
- From App & Keys section, Click on Submit for Review link to start the automated review process. Reviews may take up to 20 minutes to complete.
- Upon successful review of the transactions, the key’s status will change to Review has Passed.
- If the system cannot find at least 20 error-free, consecutive API transactions that do not violate API Rules and Limits, the key’s status will change to Review has Failed.
- To see the most recent review status, select ACTIONS -> Review Results.
- Once your transaction review has
passed, the next step is to select a live DocuSign account to promote the key
to. Select the key you would like to enable and click ACTIONS -> Select Go
Live account.

- After accepting the developer terms and conditions a popup comes for login to your live account.
- Once authenticated, a list of your live DocuSign accounts will be displayed. Select the account you wish to promote the key to.
- After selecting a live account, the key’s status will change to Pending Approval. You do not need to take any action at this point and your key should be promoted in 4-24 hours after reaching this status.
- Once complete, you will receive an email notification and the key’s status will change to Live, indicating the key is live in production!
- The key will also start displaying in the live DocuSign account it was linked to once it has been enabled.
- Return to FranchiseSoft once your key has been approved and switch your Account Type to Live.